Setting up your GitHub Pages site with Jekyll
-
On GitHub, create a new repository called
<username>.github.io(Follow steps 1-5 here. It is not necessary to initialize this repository with a README now. Click Create repository.) -
On your local machine, install Ruby.
-
Install bundler
$ gem install bundler -
Create a new repo locally with the same name.
$ git init <username>.github.io -
Change directory
$ cd <username>.github.io -
Create a gemfile and add the GitHub Pages gem.
source 'https://rubygems.org'gem 'github-pages', group: :jekyll_plugins -
Install Jekyll and other dependencies from the GitHub Pages gem.
$ bundle install -
Create a new Jekyll project in the current folder we’re in. The –force option is to tell Jekyll to force this command.
$ jekyll new . --force -
Edit the Gemfile, delete the # at the beginning of this line:
#gem "github-pages", group: :jekyll_plugins -
Add a new remote
$ git remote add origin https://github.com/ username/username.github.io.git -
It’s a good time to setup/review your github global config settings
$ git config --global user.name "username"$ git config --global user.email "user@email.com" -
Add or stage your changes.
git add . -
Commit your changes with a comment.
git commit -m "First commit" -
Push your changes to your remote repository on GitHub.
git push -u origin master -
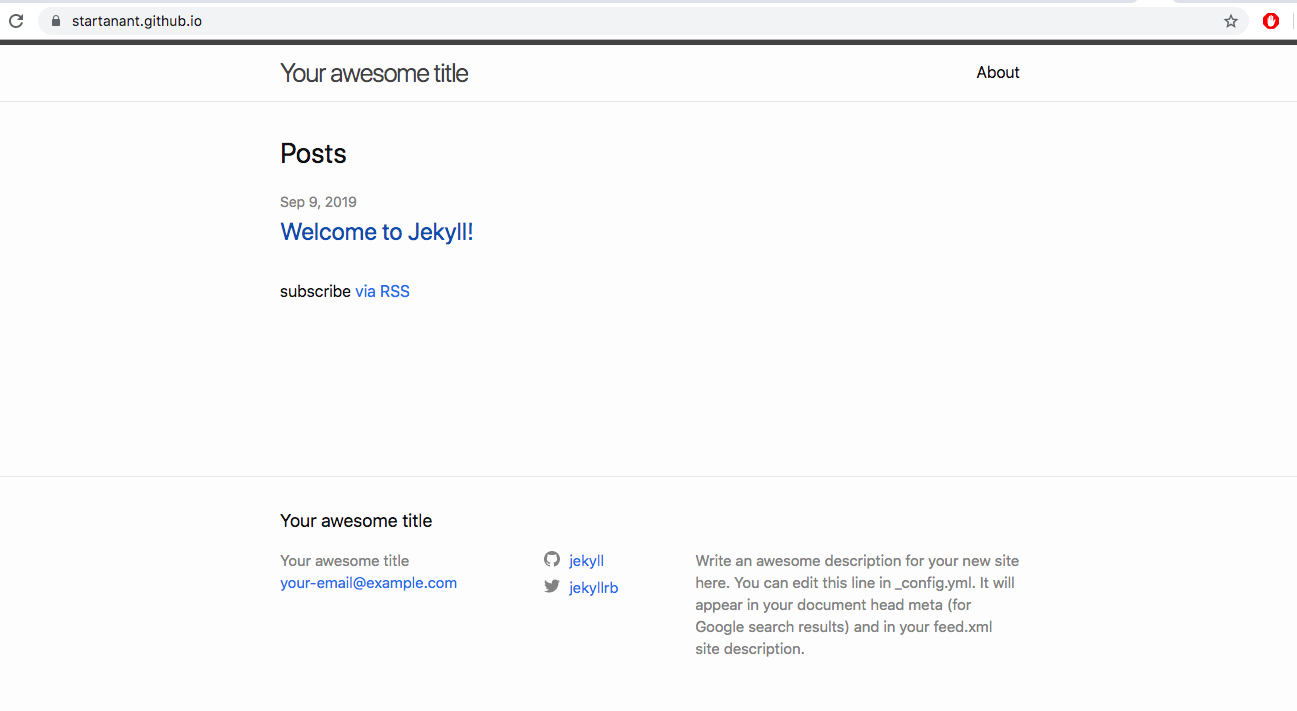
Your GitHub Pages site is now ready at
username.github.io
-
Nothing else to see here. No more excuses. Read the docs and start blogging.